
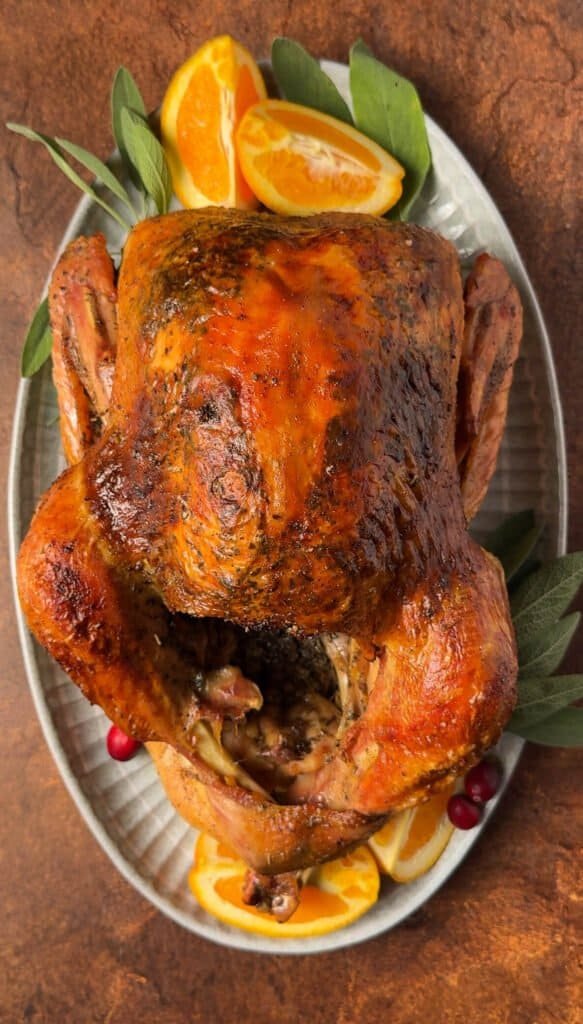
This roasted citrus turkey has been a family favorite for years, and it’s one of those recipes I look forward to making every Thanksgiving. My husband always thought he didn’t like turkey. That is, until he tried mine. Now, every time I make it, he tells me it’s the best turkey he’s ever had.
I know, I know. Every cook probably says that about their turkey recipe. But I really do encourage you to give this one a try.
The secret is a simple citrus injection made with fresh orange juice, lemon and orange zest, and broth. It gives the meat a wonderful flavor and helps keep it juicy without the need for overnight brining. I also use plenty of butter and sage, which give the turkey that beautiful golden skin and delicious holiday aroma.
And the best part? There is no complicated preparation or endless list of ingredients. Just a few simple things that work really well together.
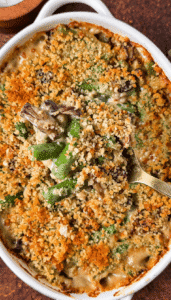
I love serving this turkey with my green bean casserole with mushrooms and Gruyère and corn pudding with honey and jalapeño. It’s a wonderful combination for Thanksgiving, but this turkey is just as good for Christmas or any family gathering.
Why You’ll Love This Recipe
- No overnight brining. The citrus injection seasons the turkey from the inside, so there’s no need to soak the entire bird for hours.
- Juicy, flavorful meat. Fresh citrus, broth, butter, and sage make a wonderful combination without overpowering the natural turkey flavor.
- Simple ingredients. Nothing fancy or difficult to find, and very little hands-on work compared to some traditional turkey recipes.
- Beautiful presentation. The golden skin looks lovely on a holiday table, especially with a few fresh herbs and orange slices.
What Makes This Citrus Roasted Turkey So Good?
For me, the biggest difference is the citrus injection.
Turkey breast can easily turn dry, especially when you’re roasting a large bird. The injection helps distribute seasoned liquid directly into the meat, rather than relying only on seasoning the outside.
I use fresh orange juice, along with orange and lemon zest. The citrus adds a subtle brightness, but don’t worry, your turkey won’t taste like oranges. The flavor is mostly savory, with a little freshness that works beautifully with the sage.
The salt in the injection helps the meat retain moisture, too. Technically, it’s a type of brining, but without the hassle of soaking a large turkey overnight.
And then there’s the butter. I tuck some underneath the breast skin and use the rest on the outside. It adds richness and helps the skin turn a lovely golden brown.
It’s a combination I’ve been using for years, and I really don’t feel the need to change it.
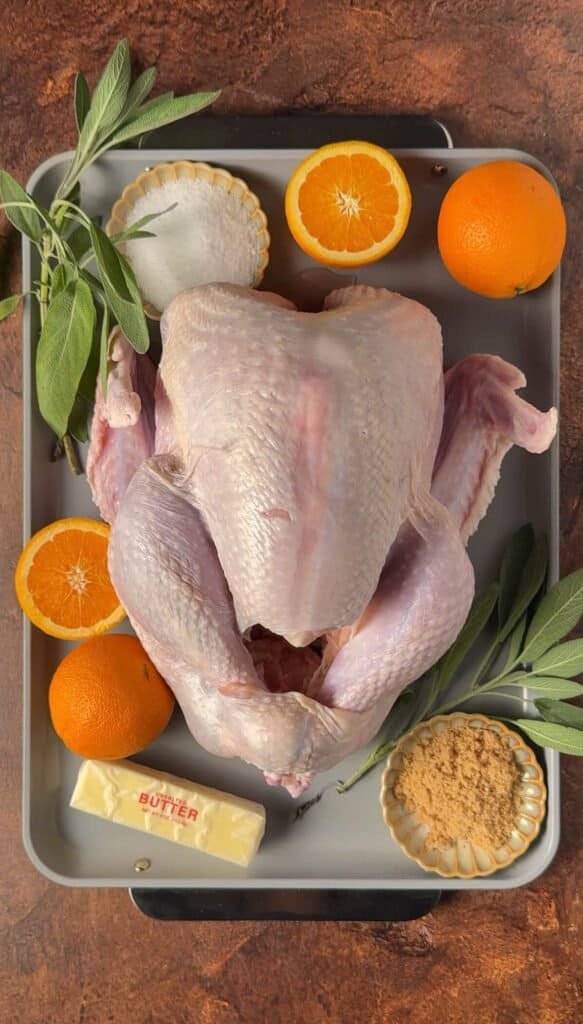
A Few Notes About the Ingredients
Most of the ingredients are straightforward, but there are a few things worth mentioning before you get started.
The turkey: I usually make a 14 to 16-pound turkey. Fresh is convenient, but frozen works just as well if you allow enough time for it to thaw completely. Most importantly, look for a turkey that hasn’t already been brined or injected with a salt solution. Since we’re adding our own seasoned injection, an enhanced turkey could end up too salty.
Fresh oranges and lemons: I recommend using fresh citrus rather than bottled juice. You’ll need both the juice and zest, and fresh fruit gives the mixture a much nicer aroma. I use my little citrus juicer for this because it’s quick and saves my hands when I’m squeezing several oranges.
Kosher salt: The type of salt matters here. Diamond Crystal and Morton kosher salt have different densities, so the same volume won’t give you the same amount of salt. I’ve included the weight in the recipe card for accuracy.
Sage: I use both ground and fresh sage. Ground sage goes underneath the skin, while fresh sprigs add aroma as the turkey roasts. I love sage with poultry, especially around the holidays. It gives the turkey that familiar savory flavor without needing a complicated seasoning blend.
Butter: Use unsalted butter. The injection already contains salt, and unsalted butter makes it easier to control the final seasoning.
My Tips for Juicy, Golden Roasted Turkey
I’ve made this recipe many times, and there are a few things I always pay attention to.
Don’t Skip Straining the Citrus Mixture
This is especially important if you’re using a flavor injector with a narrow needle.
The citrus zest adds wonderful flavor, but the tiny pieces can clog the injector. I blend the mixture and strain it thoroughly so the liquid passes through easily.
Also, make sure the mixture is completely chilled before injecting it into the turkey.
Use a Meat Thermometer
I can’t stress this enough. Even if you’ve roasted turkey many times, a thermometer makes the whole process much easier.
Cooking time can vary depending on the size of the bird, your oven, and even the roasting pan you’re using.
I check the thickest part of the breast and thigh, making sure the thermometer doesn’t touch the bone. Both need to reach at least 165°F for food safety, although I prefer the thigh closer to 175°F for a more tender texture.
Don’t rely only on the color of the skin or the juices.
Don’t Worry If the Skin Browns Quickly
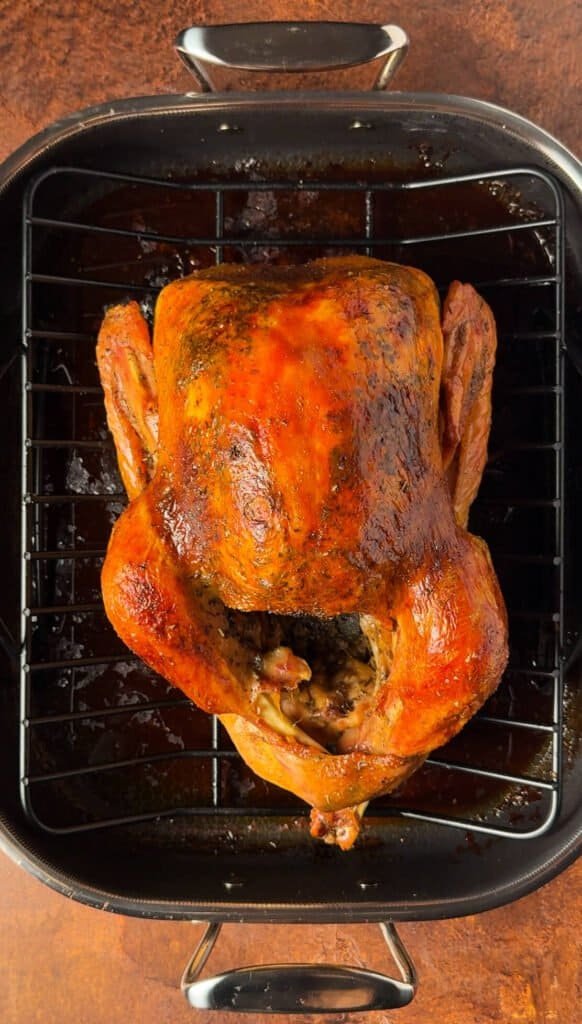
This turkey starts roasting at a higher temperature, which helps develop that beautiful golden color.
Sometimes the breast gets nicely browned before the rest of the turkey is finished. If that happens, simply cover the breast loosely with aluminum foil.
There’s no need to keep opening the oven to baste it. I prefer to let the turkey roast undisturbed as much as possible.
And please, let it rest before carving. I know it’s tempting to cut into it right away, especially when everyone is waiting for dinner, but those extra minutes are worth it.
Can You Prepare This Turkey Ahead of Time?
Thanksgiving cooking can get hectic, so I like to do as much preparation as possible the day before.
The citrus injection mixture can be made a day ahead and stored in the refrigerator. Just make sure it’s completely cooled before refrigerating.
You can also get your roasting pan, injector, thermometer, and seasonings ready in advance.
I prefer to inject the turkey shortly before roasting rather than leaving it injected overnight. That’s one of the things I like about this recipe. There’s no need to start preparing the actual turkey the day before.
If you’re using a frozen turkey, however, plan ahead for thawing. A 14 to 16-pound bird usually needs about 3 to 4 days in the refrigerator.
I also recommend planning your side dishes around the turkey. Once it’s out of the oven and resting, you have time to finish or reheat dishes that need oven space.
My butternut squash gratin with bacon and Gruyère is a lovely option for this. It’s rich and savory, and the flavors work beautifully with the citrus and sage.
How to Store and Reheat Leftover Turkey
If you’re lucky enough to have leftovers, there are plenty of ways to use them.
Let the turkey cool enough to handle, then remove the meat from the bones and transfer it to airtight containers. Refrigerate within two hours of cooking.
Cooked turkey will keep in the refrigerator for 3 to 4 days. You can also freeze it for longer storage. I like to divide it into smaller portions so I don’t have to thaw everything at once.
To reheat, place sliced turkey in a baking dish with a splash of broth or leftover pan juices. Cover with foil and warm gently in the oven until the meat reaches 165°F.
The extra liquid helps prevent the turkey from drying out.
Leftover turkey is also wonderful in sandwiches, soups, and warm toasts. You could even use it instead of ham in my apple Brie toast with caramelized apples. The combination of turkey, warm apples, and melted Brie sounds especially good after Thanksgiving.
Frequently Asked Questions
Can I make roasted turkey without brining it overnight?
Absolutely. This recipe uses a citrus injection instead of a traditional overnight wet brine. The mixture contains salt, so it still provides some of the benefits of brining, but there’s no need to soak the entire turkey for hours.
Does the turkey taste strongly of oranges?
No, the citrus flavor is quite subtle. The orange and lemon add a little brightness, while the butter, sage, and broth keep the overall flavor savory. You can still serve it with traditional gravy and all your favorite Thanksgiving sides.
Do I need a flavor injector for this recipe?
Yes, I recommend using one because the injection is an important part of what makes this turkey different.
A basic meat injector works perfectly well. You don’t need anything expensive, just one with a needle wide enough for the strained mixture.
Without an injector, you could still roast the turkey with sage and butter, but the flavor and moisture distribution would be different.
Should I cover the turkey while roasting?
Not from the beginning. I prefer roasting it uncovered so the skin develops a nice golden color.
If the breast starts getting too dark before the turkey is fully cooked, loosely cover that area with aluminum foil and continue roasting.
How much turkey should I make per person?
For a whole bone-in turkey, I generally plan on about 1 to 1 1/2 pounds per person.
A 14 to 16-pound turkey should comfortably feed approximately 10 to 12 people, depending on appetites and how many side dishes you’re serving. You may get more servings with smaller portions.
If you want plenty of leftovers, it’s worth choosing a slightly larger bird.
What to Serve with Roasted Citrus Turkey
I love a Thanksgiving table with a good mix of traditional dishes and a few things that feel a little different.
Because this turkey has such a nice savory flavor with a hint of citrus, it pairs well with creamy casseroles, roasted vegetables, and fresh salads.
My corn pudding with honey and jalapeño is especially good here. It’s creamy, slightly sweet, and has just a little heat from the jalapeño.
For something more traditional, try my green bean casserole with mushrooms and Gruyère. I make mine with fresh mushrooms and a homemade creamy sauce, and the Gruyère adds wonderful flavor.
If you want something lighter on the table, my kale farro salad with brown butter maple vinaigrette is a great choice. The apples, squash, and hearty grains fit right into a fall holiday menu.
And while the turkey is finishing in the oven, you can serve my butternut squash prosciutto crostini as a little appetizer.
Of course, mashed potatoes, cranberry sauce, and gravy are always welcome on my Thanksgiving table, too.
This roasted citrus turkey has been one of our family favorites for years. It’s simple enough that I don’t dread preparing it, and it always feels special when I bring it to the table. I hope your family enjoys it as much as mine does.
This post contains affiliate links. If you purchase through them, I may earn a small commission at no extra cost to you.
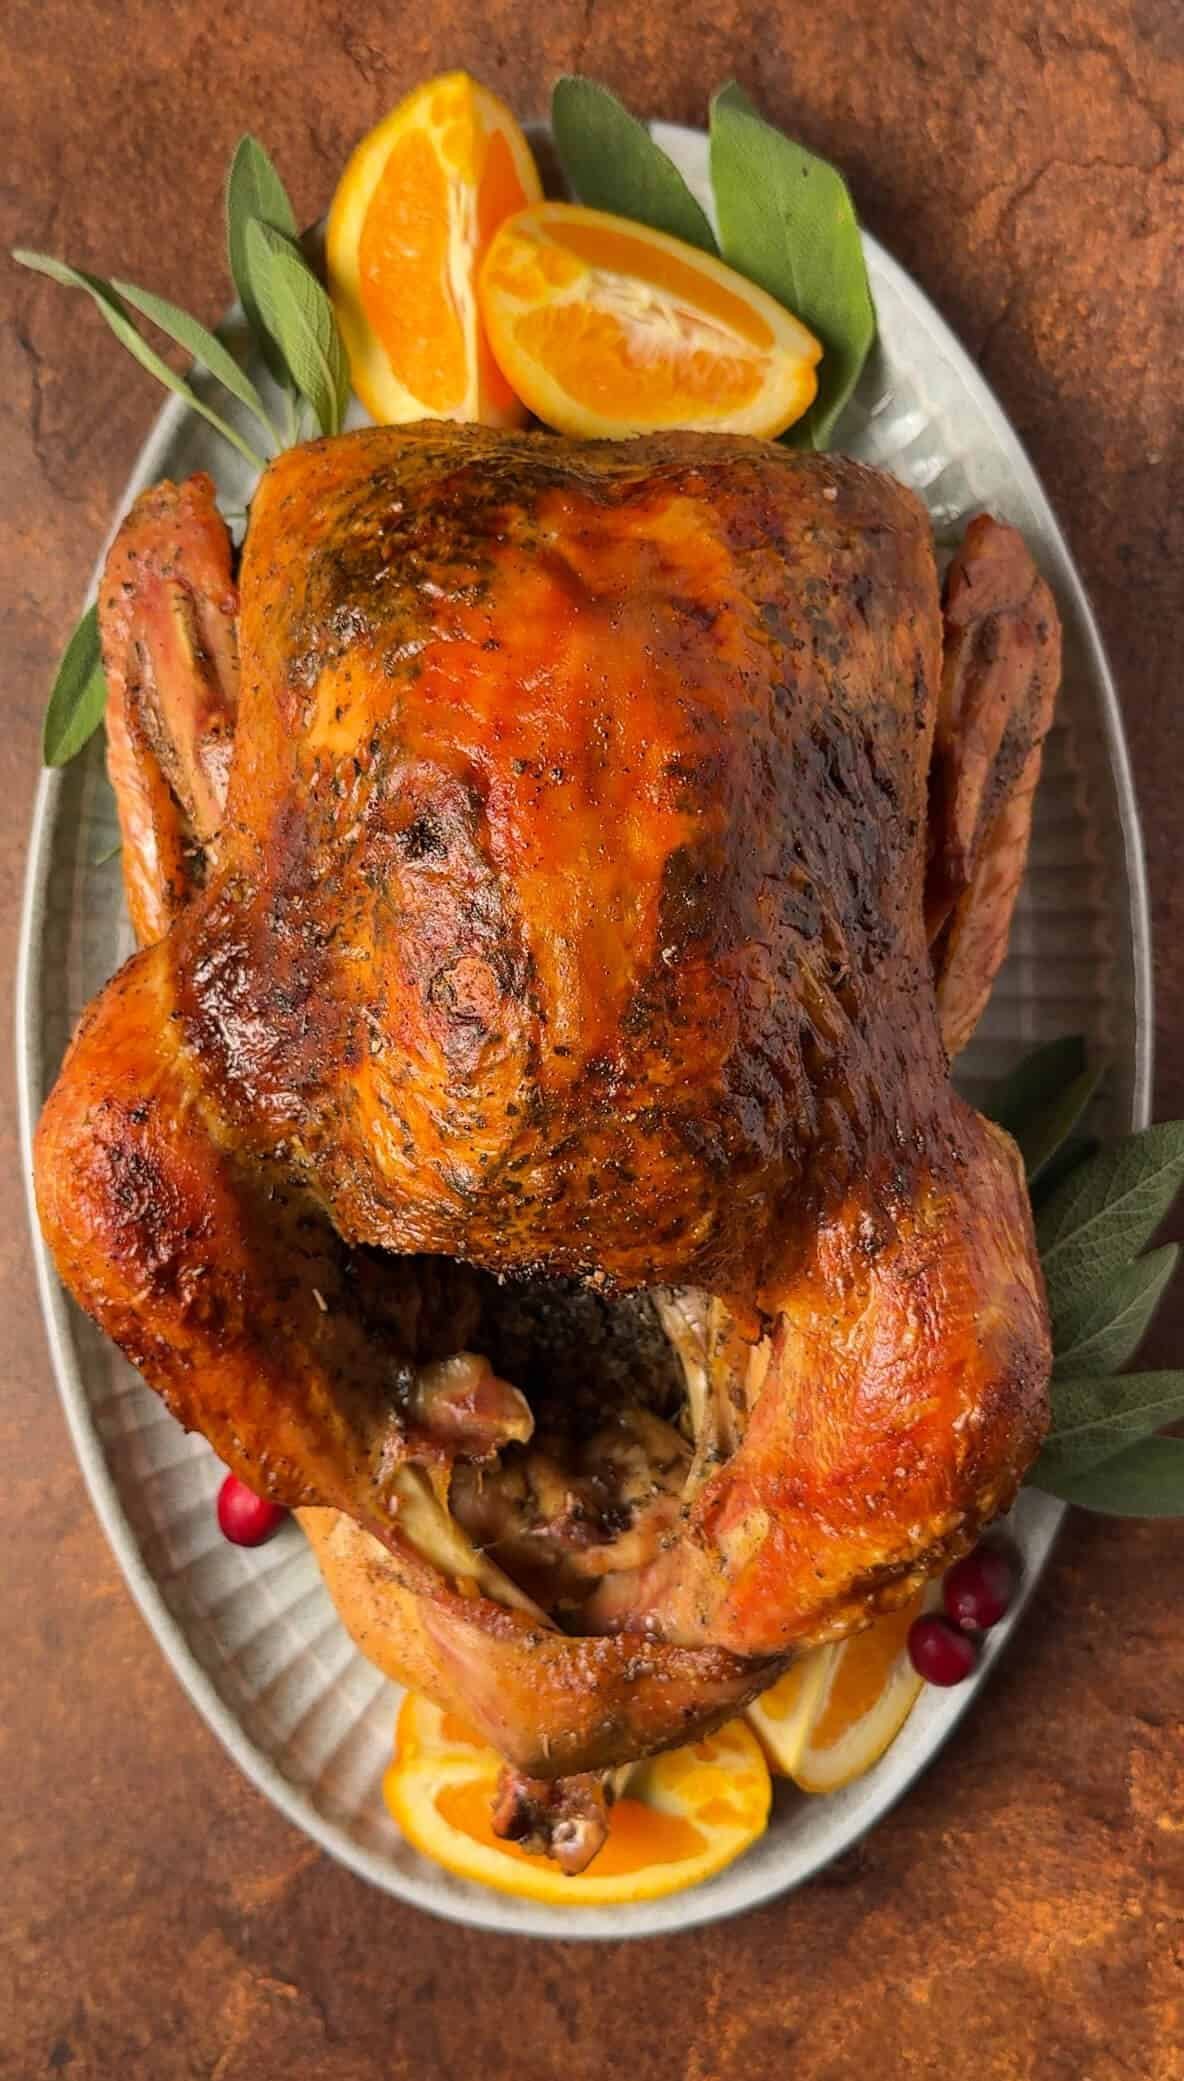

Roasted Citrus Turkey with Orange and Sage
Ingredients
Equipment
Method
- Combine the broth, orange juice, orange zest, lemon zest, kosher salt, and brown sugar in a saucepan over medium-high heat.
- Bring to a brief boil, stirring until the salt and sugar dissolve.
- Transfer to a heatproof bowl and cool completely over an ice bath.
- Blend the chilled mixture in two batches, about 1 minute each.
- Strain through a fine-mesh sieve to remove the zest particles. Refrigerate until ready to use.
- Prepare the Turkey
- Preheat the oven to 425°F. Remove the neck and giblets from the turkey cavity, if present. Pat the turkey dry with paper towels.
- Place the turkey breast side up on a rack in a large roasting pan.
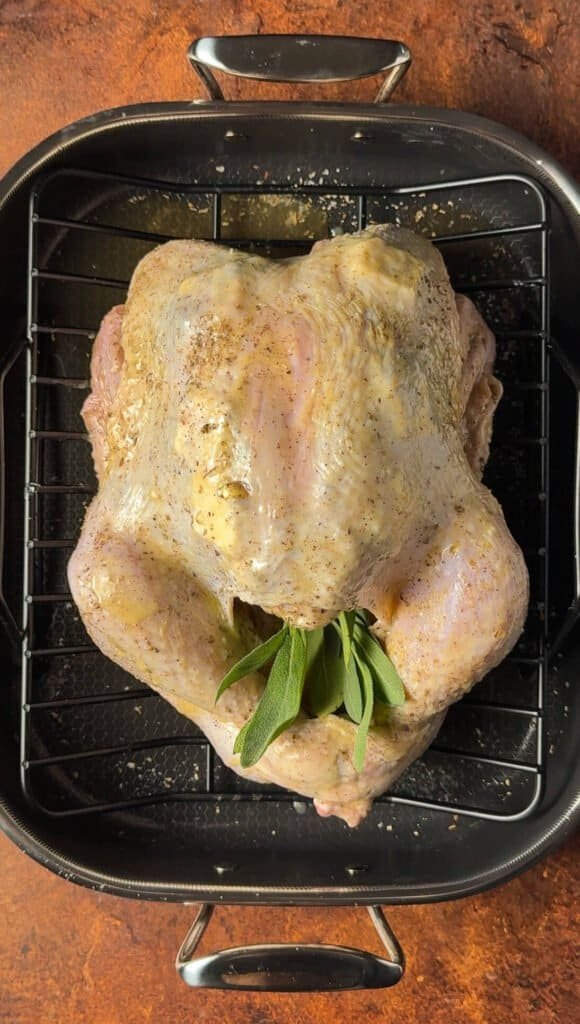
- Gently loosen the skin over the breast without tearing it. Rub the ground sage directly onto the breast meat.
- Cut 4 tbsp butter into thin slices and arrange them underneath the breast skin.
- Place the fresh sage sprigs loosely inside the turkey cavity.
- Fill a flavor injector with the chilled citrus mixture. Inject into 6 to 10 sites across the thickest parts of the breasts and thighs, slowly releasing the liquid as you withdraw the needle. Do not force in more liquid than the meat can hold.
- Tuck the wing tips underneath the turkey. If desired, loosely tie the drumsticks together with kitchen twine.
- Melt the remaining 4 tbsp butter and brush over the turkey. Season with freshly ground black pepper and additional salt.
- Roast the Turkey
- Roast uncovered at 425°F for 30 minutes.
- Reduce the oven temperature to 350°F and continue roasting for approximately 2 1/2 to 3 1/2 hours longer, until the thickest part of the breast and innermost thigh reach at least 165°F.
- If the skin begins to brown too quickly, loosely cover the breast with aluminum foil.
- Transfer the turkey to a carving board, loosely cover with foil, and rest for 20 to 30 minutes before carving.
Notes
- Turkey: Use an unbrined turkey without an added salt solution. Self-basting or enhanced turkeys may become too salty with this injection.
- Salt: Weigh the kosher salt for best accuracy. Different brands have different densities.
- Injection: Chill and strain the mixture thoroughly before using. Discard any unused injection liquid after the injector has contacted raw turkey.
- Make ahead: The injection mixture can be prepared up to 24 hours ahead and refrigerated.
- Cooking time: Times are approximate. Use a meat thermometer to determine doneness. For more tender dark meat, I prefer the thigh temperature closer to 175°F.
- Storage: Refrigerate leftovers within 2 hours and use within 3 to 4 days.
- Freezing: Freeze cooked turkey in airtight containers for best quality within 3 to 4 months.